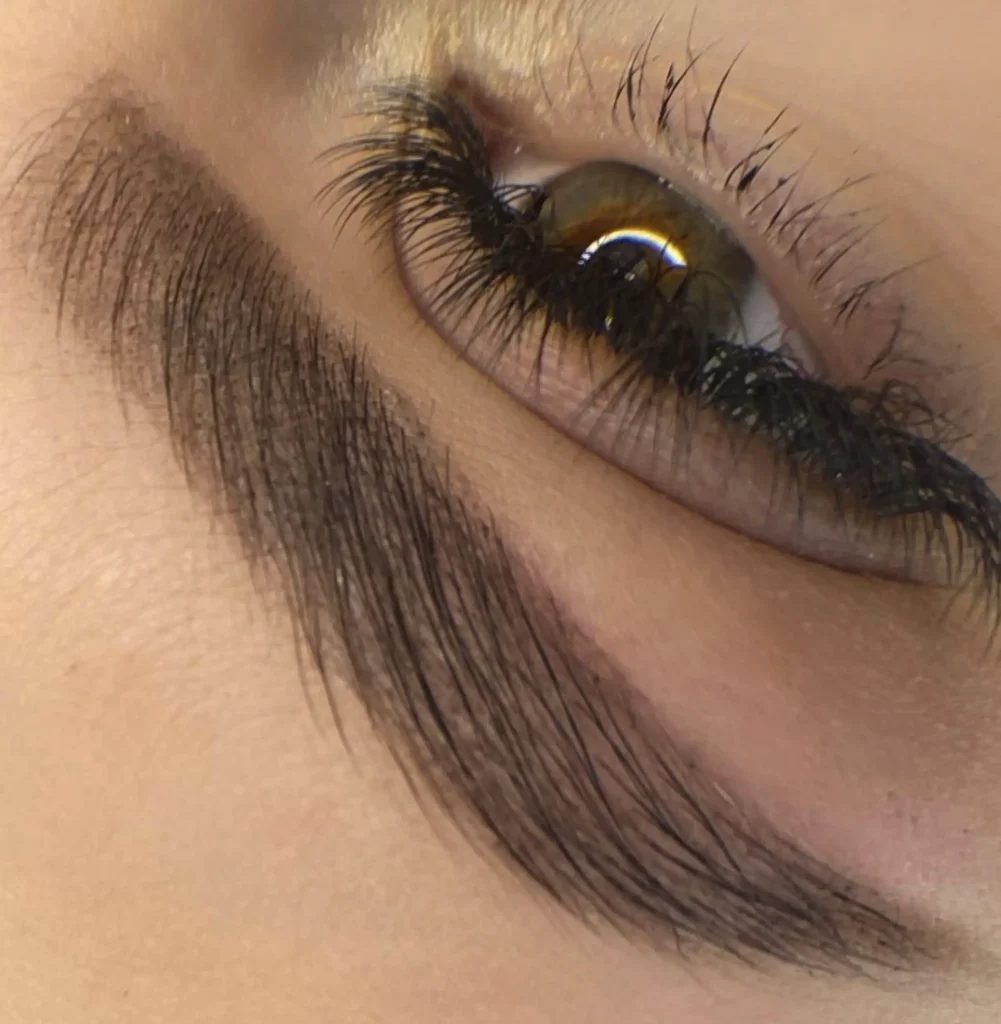
Microblading is all the rage in the beauty industry especially for those who want fuller, more defined brows. So what is microblading eyebrows? In a nutshell it’s a form of semi permanent tattooing where a technician uses a handheld tool to create fine hair like strokes to fill in sparse or thinning brows. This is a natural and long lasting solution for those who want to shape and fill their brows.
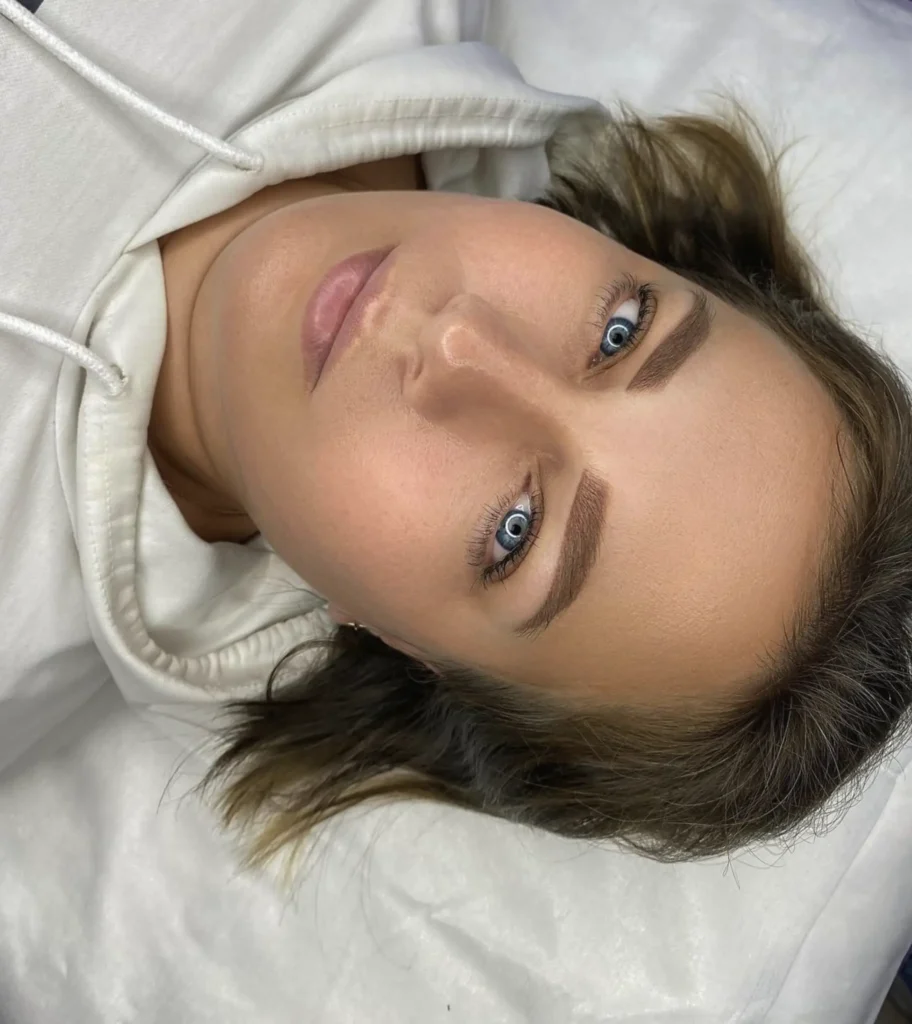
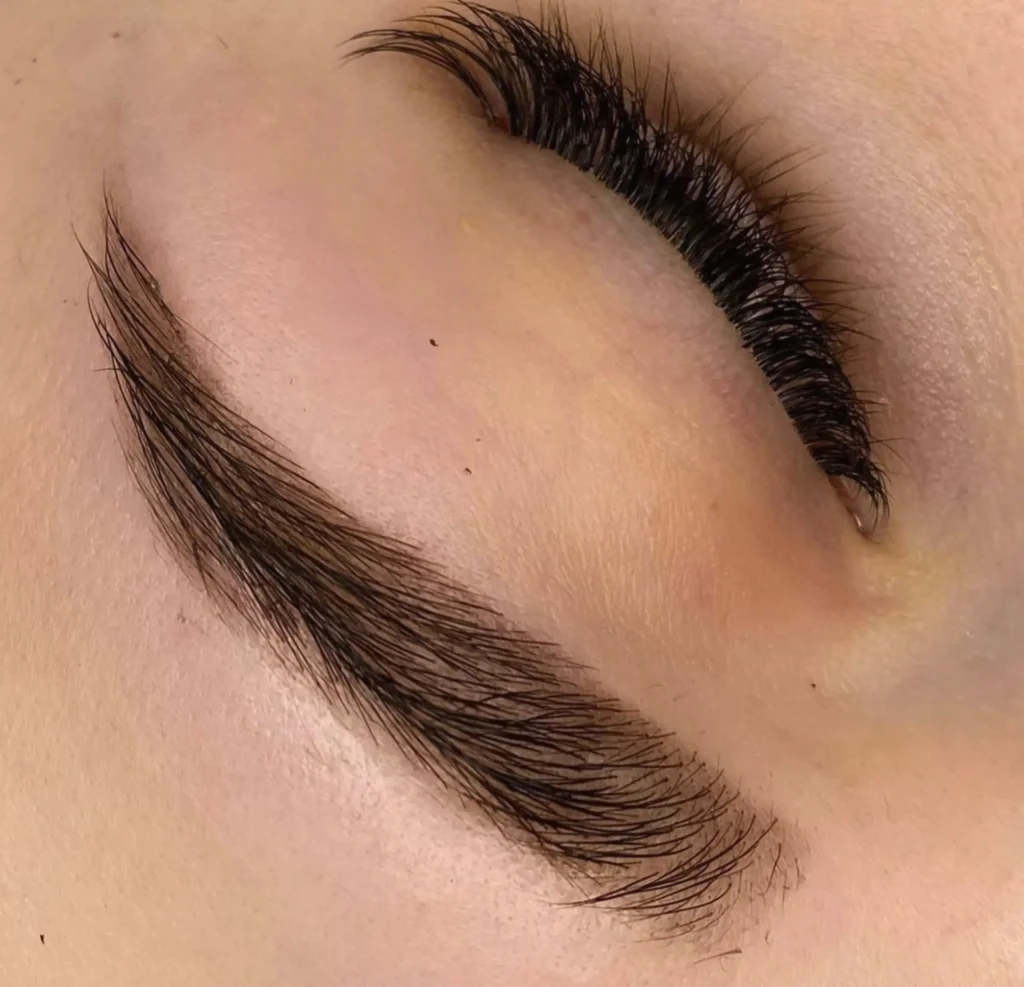
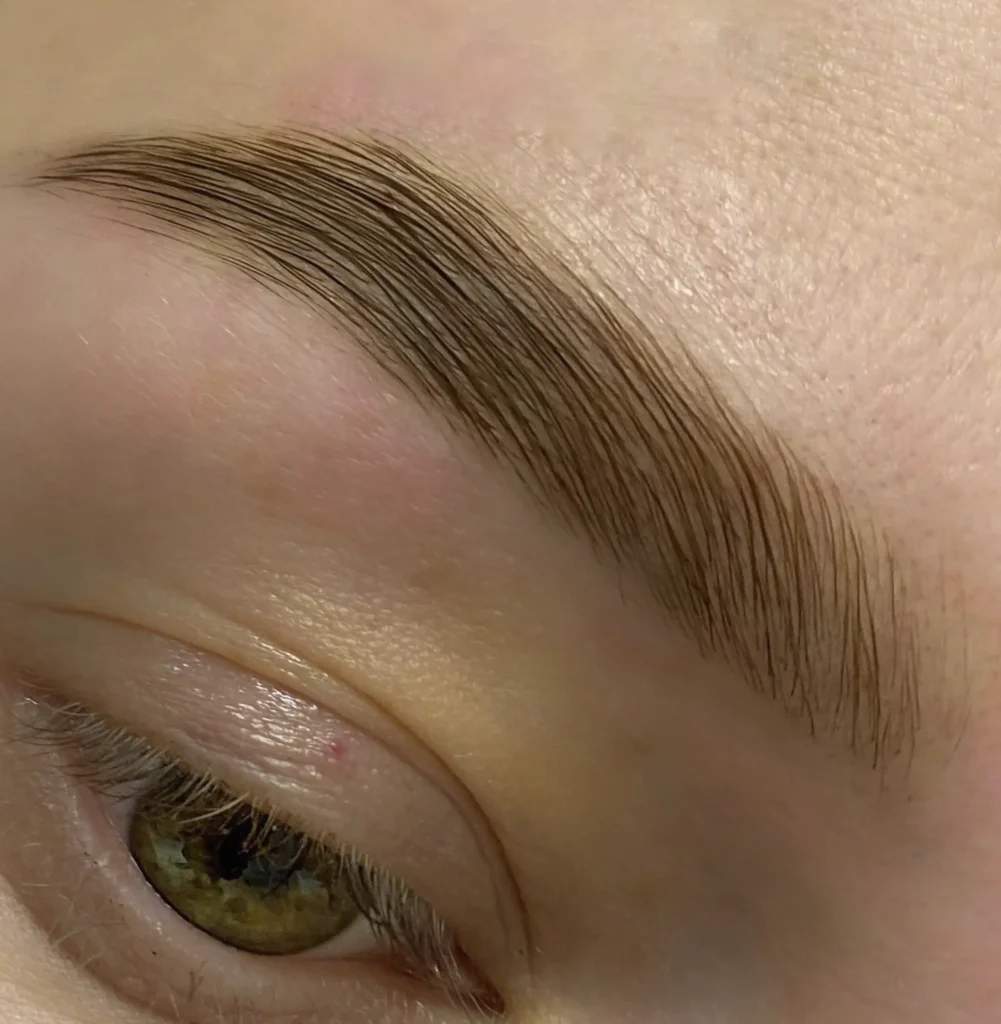
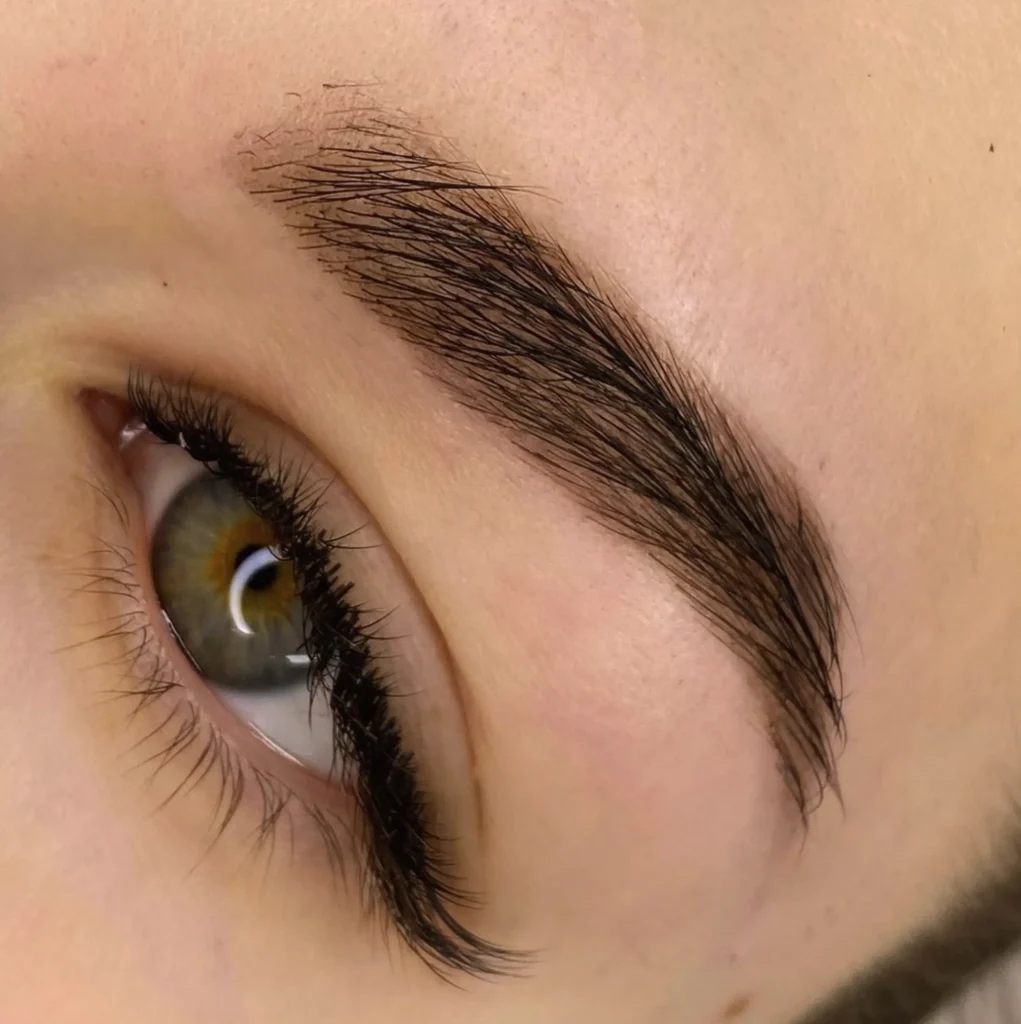
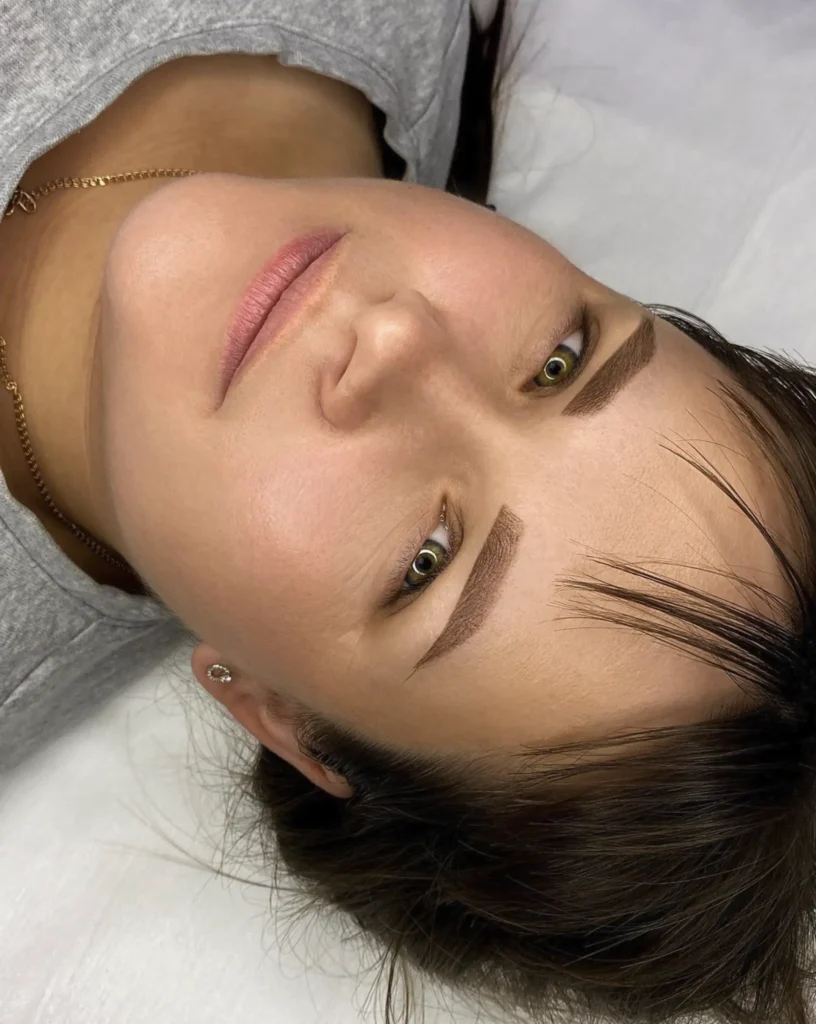
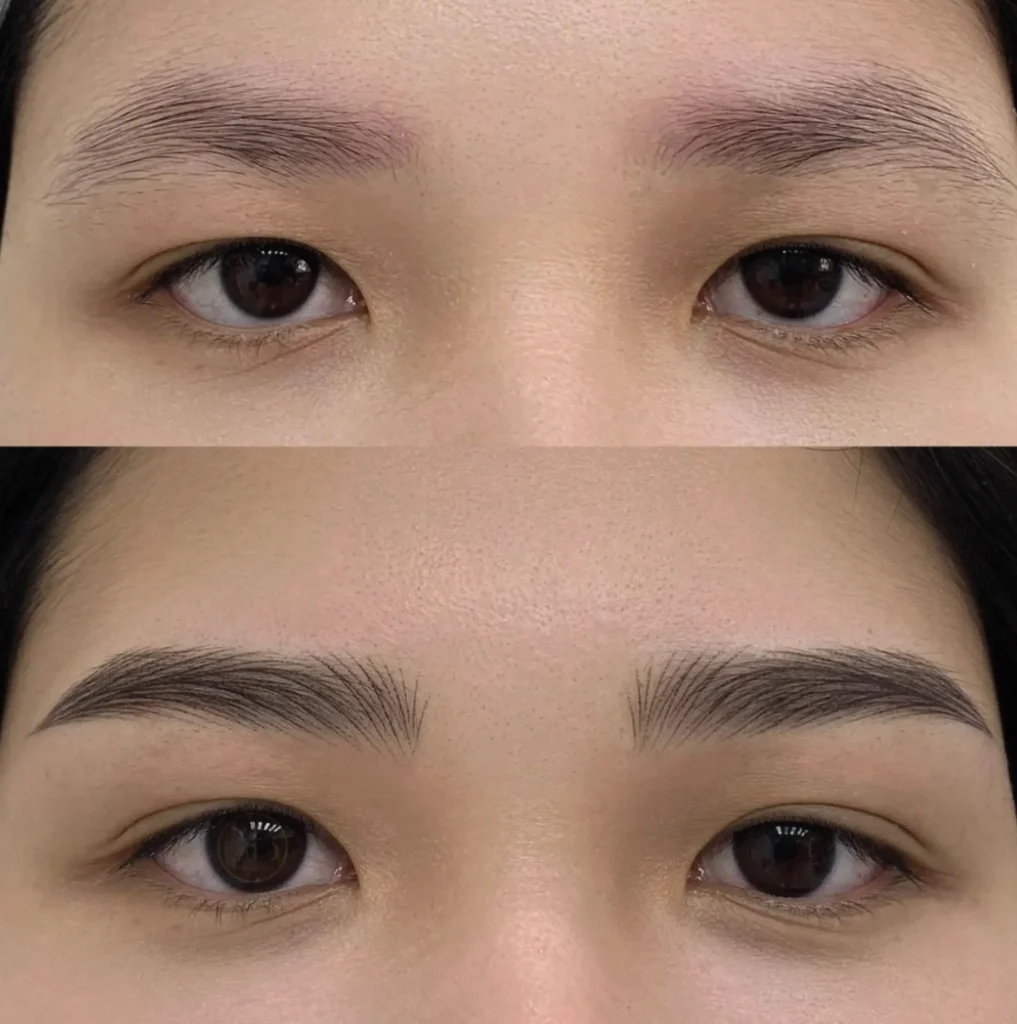
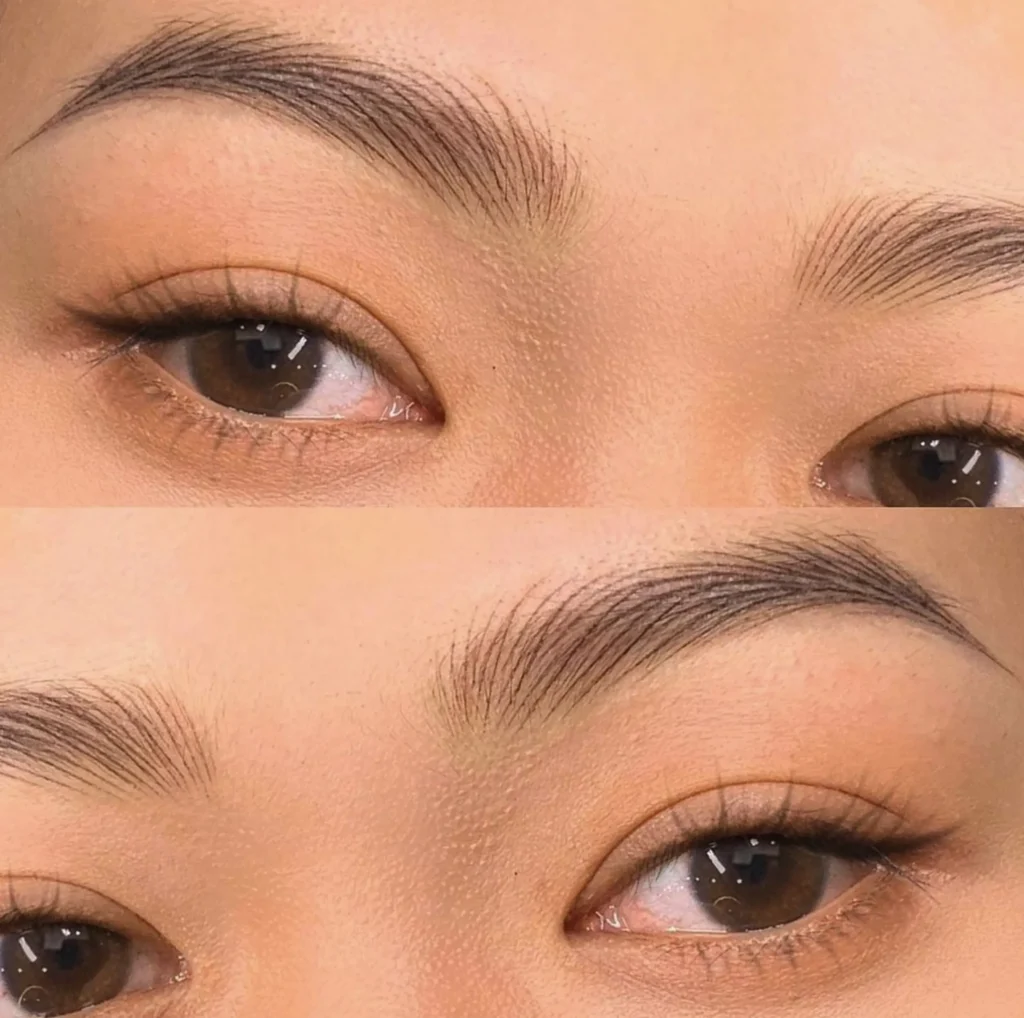
Microblading before and after
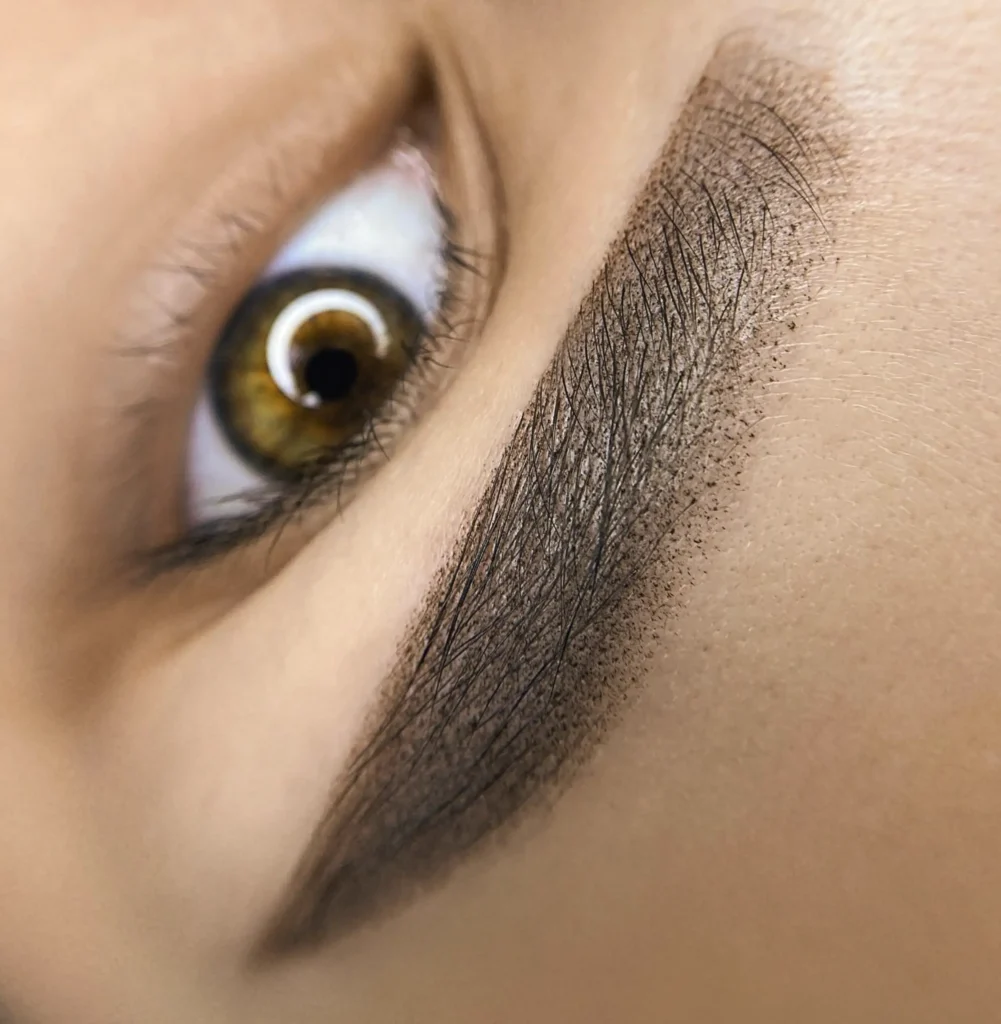
Microblading as a Tattoo
Microblading is often referred to as an eyebrow tattoo but it’s not a traditional tattoo. Unlike a tattoo gun that deposits ink deeper into the skin, eyebrow microblading uses a manual tool to implant pigment into the superficial layers of the skin. This is key as it means the results are semi permanent and will fade over time as the skin exfoliates. The pigment used in microblading is also formulated to match natural hair colours so it looks more realistic compared to the bold and permanent look of a traditional tattoo.
Who Should Get Microblading? Ideal Candidates
Microblading is for anyone who wants to improve the appearance of their brows. It’s great for those with sparse or thinning brows, those who have lost their brows due to medical conditions or anyone who wants to save time on their daily makeup routine. Here are the key points:
- Sparse Brows: If you have thin or patchy brows, microblading can give you fuller, more uniform brows.
- Medical Conditions: People with alopecia or who have had chemotherapy can benefit from the natural look of microblading.
- Busy Lives: If you want to wake up with perfect brows every day without the hassle of applying makeup, brow microblading is the way to go.
However if you have certain skin conditions or sensitivities you should consult with a dermatologist before getting the treatment.
Microblading for Thin vs Thick Brows: Who Benefits More?
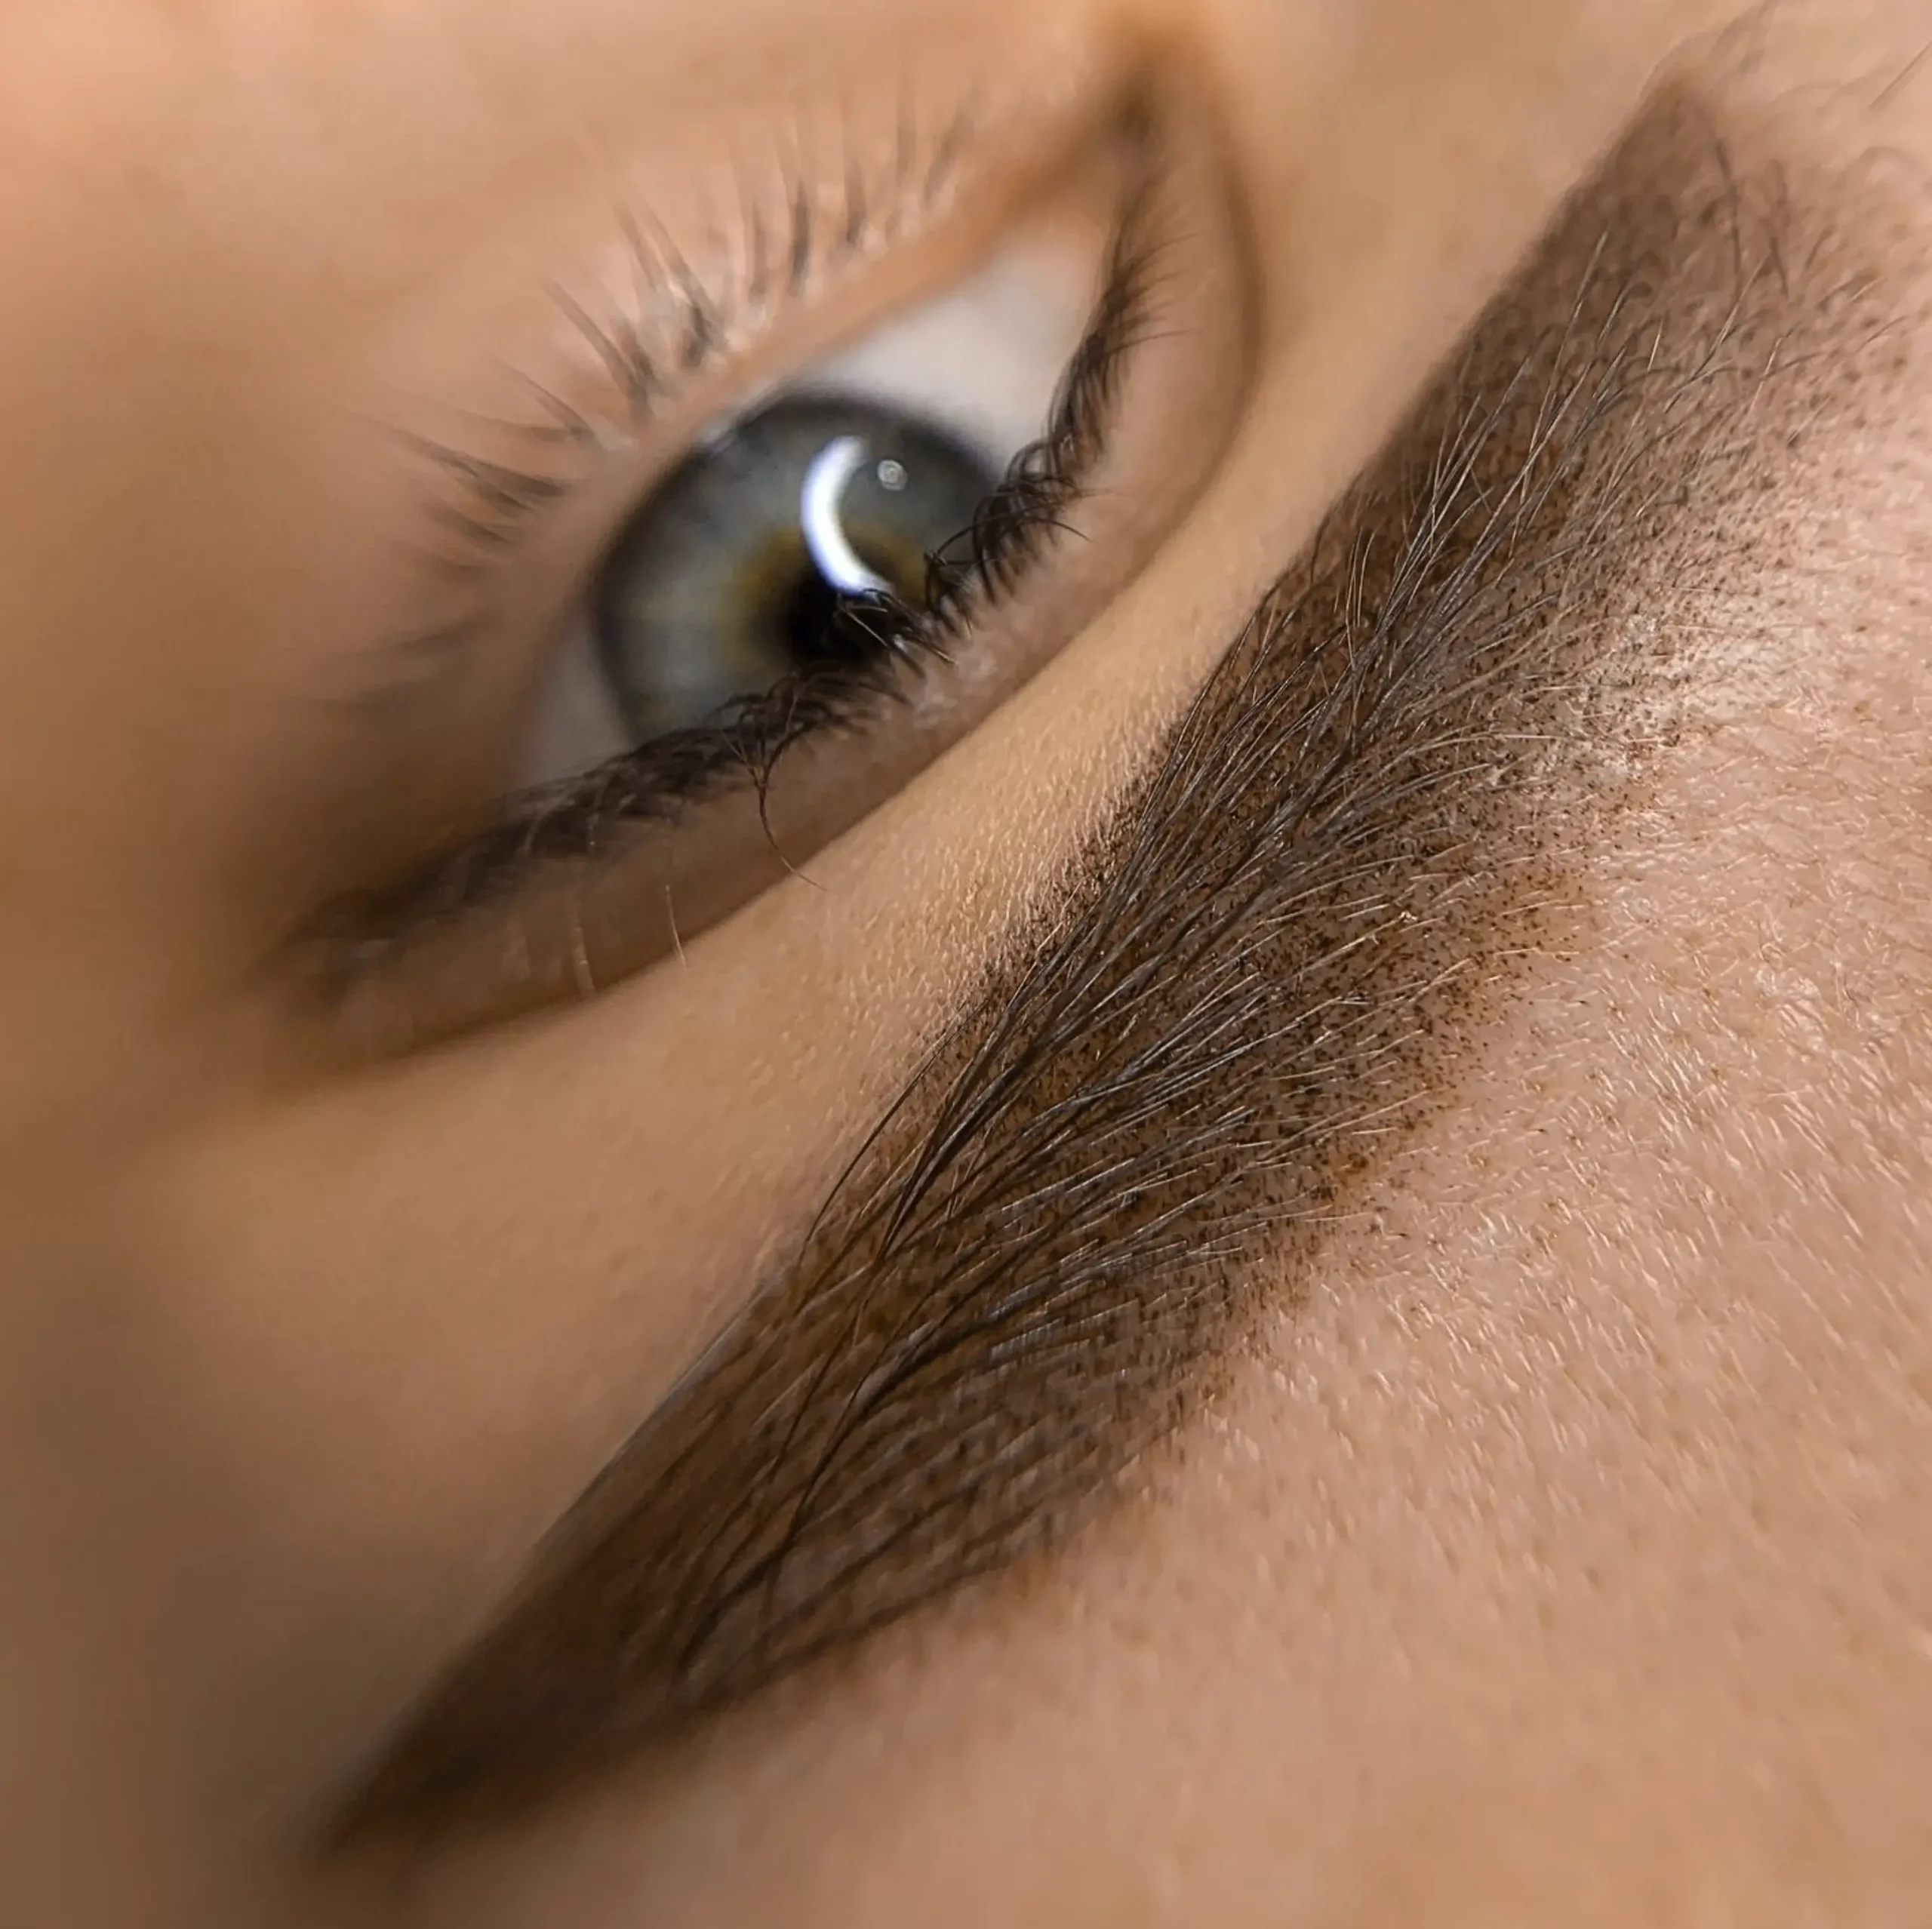
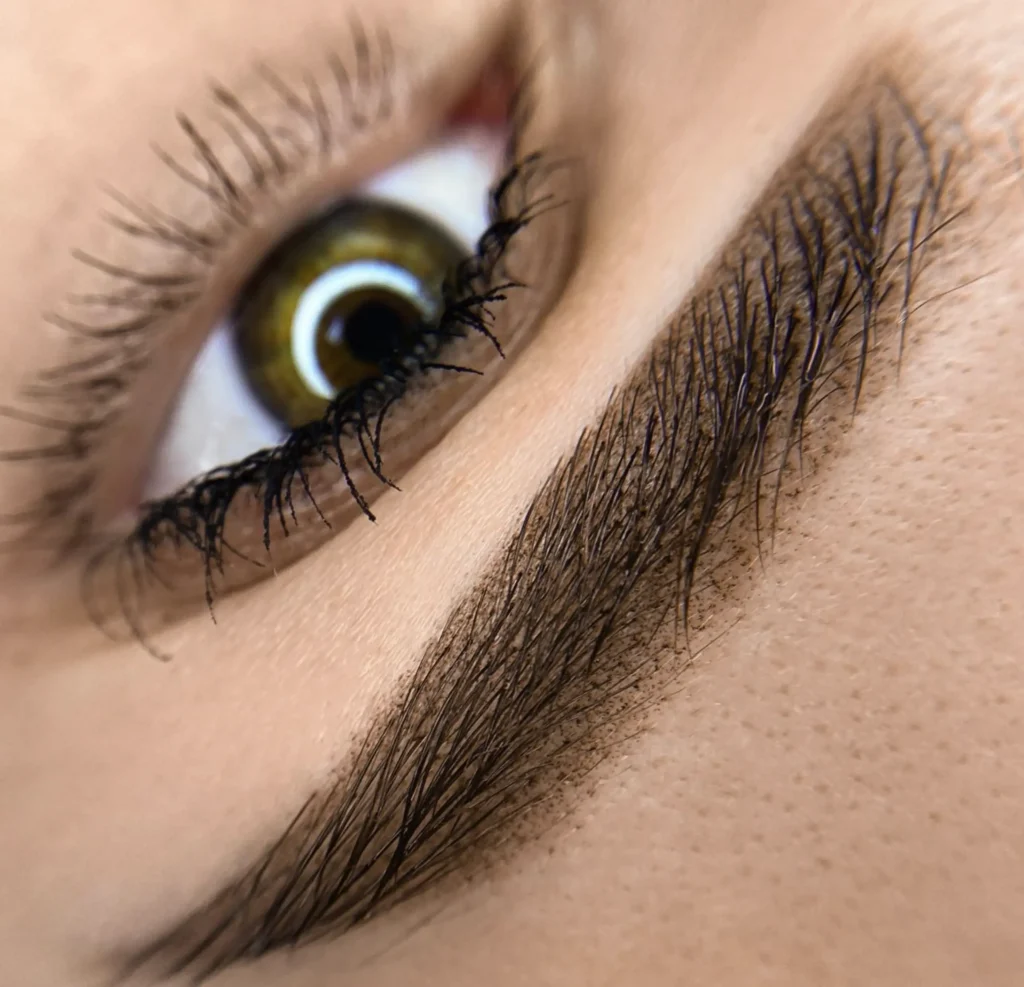
Microblading can benefit both thin and thick brows but the results will be more noticeable for those with sparse brows. For thin brows microblading can create the illusion of a fuller, more defined brow. Each hair like stroke is placed meticulously to mimic natural hair growth, filling in gaps and giving a more cohesive look. For those with thick brows microblading can help define the shape and add symmetry but the difference will be more subtle compared to someone with very sparse brows.
Microblading Risks and Downsides
While microblading can give amazing results it’s not without its risks and downsides. Being aware of these will help you make an informed decision:
- Infection: If the procedure is not done in a sterile environment there is a risk of infection. Make sure the studio follows strict hygiene protocols.
- Allergic Reactions: Some people may be allergic to the pigments used. A patch test is recommended before the full procedure.
- Uneven Results: Inexperienced technicians can produce uneven or unnatural looking brows. Always choose a certified and experienced artist.
- Fading: Over time the pigment will fade sometimes changing to blue or green. Regular touch ups are needed to maintain the desired look.
How Painful Is Microblading? What to Expect
The level of discomfort during microblading varies from person to person. It’s described as a scratching sensation not pain. Numbing creams are applied before and during the procedure to minimize the discomfort. Most clients find it tolerable, some areas are more sensitive than others. The pain level is often compared to getting your brows threaded or waxed.
Microblading Cost
Microbladed eyebrows cost varies based on location, technician and quality of materials. Here’s a breakdown:
- Initial Session: The initial microblading session can cost between $400-$1,500. This includes the consultation, procedure and sometimes the first touch up session.
- Follow-Up Session: Most technicians recommend a touch up session 4-6 weeks after the initial procedure to perfect the brows. This can cost $100-$300.
- Annual Touch Ups: To maintain the look of your brows annual touch ups are recommended. These can cost $150-$400.
It’s an investment but many find it worth it for the convenience and confidence boost of having perfect brows.
Can Microblading Damage My Natural Brows?
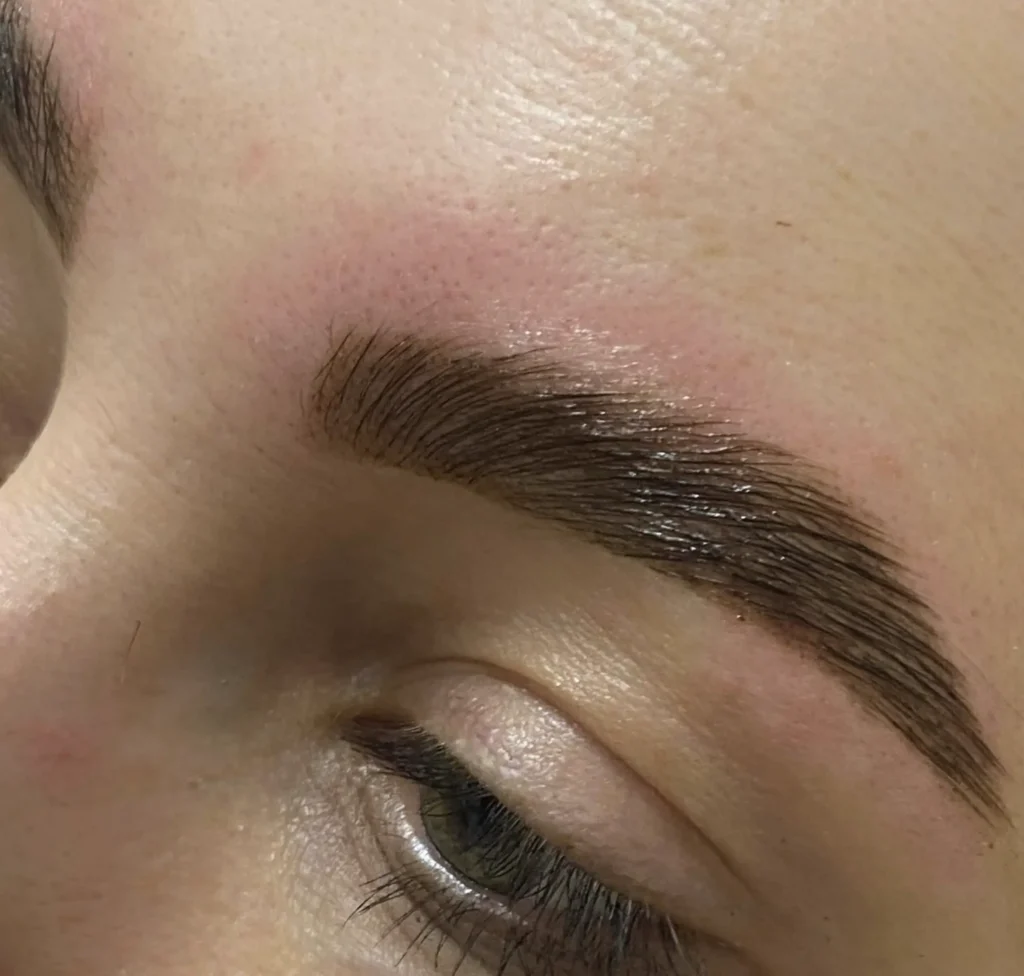
One of the biggest concerns is if microblading can harm your natural eyebrow hairs. When done correctly by a trained professional microblading should not damage your natural brows. Microblading targets the dermal layer of the skin just beneath the hair follicles so your existing hairs will not be affected. In fact many find that microblading stimulates natural brow growth as the hair follicles are stimulated during the procedure.
Microblading Prep: A Step by Step Guide
Proper prep will help ensure a smooth microblading experience and the best results. Here’s what to do before your appointment:
- Avoid Blood Thinners: Don’t take aspirin, ibuprofen or any other blood thinners for at least 48 hours before the procedure. This includes certain supplements like fish oil and vitamin E.
- No Alcohol or Caffeine: Avoid consuming alcohol or caffeine for at least 24 hours before your session as this can increase sensitivity and bleeding.
- No Tweezing or Waxing: Don’t tweeze, wax or tint your brows for at least a week before your appointment to avoid irritation.
- Consultation: Schedule a consultation with your technician to discuss your desired brow shape, color and any concerns you may have. This is also a good time to ask about the microblading process and aftercare.
- Patch Test: Some studios may require a patch test to ensure you don’t have an allergic reaction to the pigments used.
Follow these steps to get the best results and minimize the risks.
Healing and Aftercare for Microbladed Brows
Proper aftercare is key to ensuring your microbladed brows heal correctly and look their best. Here’s what to expect during the healing process and how to care for your new brows:
- Initial Healing (Days 1-7): Immediately after the procedure your brows will be darker and more defined than expected. Redness and slight swelling is normal. Don’t get your brows wet and don’t touch them.
- Peeling and Scabbing (Days 7-14): The pigment will start to flake off and you’ll see a lighter color underneath. Don’t pick or scratch the scabs as this can remove the pigment and affect the final results.
- Final Results (Weeks 4-6): By the end of the healing process your brows will have settled into their final shape and color. A follow up appointment is often recommended to perfect the brows and fill in any areas where the pigment may have faded.
Aftercare:
- No Moisture: Keep your brows dry for at least a week. No heavy sweating, swimming or saunas.
- Use Recommended Products: Apply any ointments or creams recommended by your technician to aid in healing.
- Sun Protection: Direct sunlight can cause the pigment to fade. Wear a hat or use sunscreen on your brows.
By following these aftercare instructions your microbladed brows will heal properly and last as long as possible.
Do I need to Pluck my Brows after Microblading?
Even with microbladed brows some maintenance may still be required to keep them looking their best. While the shape and fullness are defined by the microblading, natural eyebrow hairs outside the microbladed area may still grow. Here’s what you may need to do:
- Plucking or Trimming: You may need to pluck or trim stray hairs that grow outside the brow shape.
- Brow Products: In some cases you may still use brow products like gel or powder to enhance the look or fill in gaps that develop as the pigment fades.
- Regular Touch-Ups: Annual touch ups are recommended to maintain the color and shape of your brows.
Maintenance will keep your brows looking perfect and extend the life of your microblading investment.
Microblading vs Traditional Tattooing
| Feature | Microblading | Traditional Tattooing |
|---|---|---|
| Tool Used | Handheld manual tool with fine needles | Tattoo machine |
| Depth of Pigment | Superficial layers of the skin | Deeper layers of the skin |
| Longevity | 1-3 years | Permanent |
| Pigment Type | Specially formulated to match natural hair colors | Standard tattoo ink |
| Appearance | Natural, hair-like strokes | Bold, solid lines |
| Pain Level | Mild to moderate, with numbing cream applied | Moderate to high, varies by individual |
| Fading | Fades gradually over time | May fade but often remains visible |
| Maintenance | Regular touch-ups every 12-18 months | Occasional touch-ups, if desired |
Where to Get Microblading: Finding the Right Studio
Finding the right studio and technician for your microblading procedure is key to getting the best results. Here’s what to look for:
- Research and Reviews: Look for studios with good reviews and high ratings. Personal recommendations from friends or family can also be helpful.
- Portfolio: Check the technician’s portfolio of before and after photos to make sure their style matches your desired look.
- Certification and Training: Make sure the technician is certified and has been trained in microblading.
- Hygiene Standards: Visit the studio to see how clean it is and if they follow hygiene protocols (HLTINF005). The technician should use sterile equipment and disposable tools.
By following these steps you can find a good studio that will do safe and professional microblading.
Microblading vs Traditional Tattooing
While both microblading and traditional tattooing involve implanting pigment into the skin, they are very different in approach, tools and results. Traditional tattooing uses a machine to deposit ink into the deeper layers of the skin which results in a more permanent and bold look. Microblading uses a handheld tool to create fine, hair-like strokes in the superficial layers of the skin which is a more natural and semi-permanent solution.
Traditional tattoos fade over a much longer period, sometimes decades, whereas microblading lasts 1-3 years depending on skin type, lifestyle and aftercare. The pigments used in microblading are specially formulated to match natural hair colors so the results blend in with existing eyebrow hairs. Traditional tattoo ink is often bolder and can change color over time.
Another big difference is the maintenance. Microblading requires regular touch ups every 12-18 months to maintain the desired look. Traditional tattoos may require occasional touch ups but far less. Pain level varies, microblading is generally less painful because of the numbing cream and the less invasive procedure.
What is Microshading? How it’s different from Microblading
Microshading also known as powder brows is a semi-permanent makeup technique that uses a stippling method to create a soft, shaded effect like brow makeup. Unlike microblading which creates individual hair-like strokes, microshading uses a fine needle to deposit tiny dots of pigment into the skin to give a fuller, more powdered look.
Microshading is ideal for people with sensitive or oily skin as it’s less harsh and longer lasting in these skin types compared to microblading. It’s also great for those who want a more filled in look rather than the natural hair-stroke look of microblading. The combination of both techniques is also popular, known as combo brows, which gives you the best of both worlds, natural strokes and defined shape.
The process of microshading is similar to microblading, starting with a consultation to determine the desired shape and color, then numbing cream is applied to minimize discomfort. The technician then uses a special tool to create the shading effect. The healing process and aftercare is similar but with some minor variations due to the different technique used.
Allergic Reaction to Microblading: What you need to know
While allergic reaction to microblading pigments is rare, it can happen. Be aware of the risks and take necessary precautions. Most good microblading artists will do a patch test before the procedure to ensure you don’t have an allergic reaction to the pigments used.
Symptoms of an allergic reaction can be redness, swelling, itching and in severe cases, difficulty in breathing. If you experience any of these symptoms after your microblading session, seek medical attention immediately. Using high quality, hypoallergenic pigments can reduce the risk of allergic reaction.
Also follow the aftercare instruction provided by your technician which usually includes no makeup, no excessive sun exposure and no swimming in chlorinated water for at least 2 weeks after the procedure. Proper aftercare not only gives you the best results but also minimizes the risk of complications such as infection or allergic reaction.
Microblading Procedure Walkthrough
Understanding the microblading process can calm your nerves. Here’s a step by step guide of what to expect during your microblading session:
- Consultation: Your first appointment will be a consultation where you will discuss your desired brow shape, color and thickness with your technician. This is also the time to ask questions and address any concerns you may have.
- Mapping and Designing: The technician will map out your new brows using a brow pencil. This step involves measuring and drawing the perfect shape to suit your face. You will have the opportunity to review and approve the design before proceeding.
- Numbing: Numbing cream is applied to the brow area to minimize discomfort during the procedure. It takes about 20-30 minutes for the numbing cream to take effect.
- Microblading: Using a handheld tool with fine needles, the technician will make small hair-like strokes to deposit pigment into the skin. This part of the process can take 45 minutes to 2 hours depending on the design.
- Final Touches: After the initial strokes are done, the technician may add more pigment to ensure an even and natural look. You will be given a mirror to check the results and provide feedback.
- Aftercare Instructions: Finally the technician will give you aftercare instructions to follow during the healing period. This includes information on how to clean your brows, what products to use and what activities to avoid.
Knowing each step of the process can calm your nerves.
How to Choose the Right Brow Shape and Color for Microblading
Choosing the right brow shape and color is key to getting natural and flattering results. During your consultation your technician will assess your facial features, natural hair color and personal preferences to create a custom brow design for you.
Brow Shape
Brow shape can make or break your overall look. Here’s what to consider:
- Face Shape: Face shape determines brow style. For example, a soft brow suits an angular face, a defined arch suits a round face.
- Natural Brow Shape: Working with your natural brow shape can accentuate your features and give a more natural result.
- Trends vs. Timeless: Brow trends come and go, but choosing a classic shape that suits your face will make your brows look good forever.
Brow Color
Matching the brow color to your natural hair color is key to a harmonious look. Here’s what to consider:
- Hair Color: Choose a pigment that matches or complements your natural hair color.
- Skin Tone: Consider your skin tone when choosing a pigment. Warm tones may require a different shade than cool tones.
- Don’t Go Too Dark: It’s better to start with a lighter shade and darken during touch-ups rather than going too dark to start with.
By considering these factors you can get a balanced and natural looking brow that enhances your features.
Is Microblading Reversible? How to Remove Microbladed Brows
One of the biggest concerns for those considering microblading is whether the results are reversible. While microblading is semi-permanent and will fade over time, there are options to remove or correct microbladed brows if you’re not happy with the results.
Fading Over Time
The pigment used in microblading is designed to fade over one to three years. If you’re not happy with the results the brows will naturally fade and become less noticeable over time.
Laser Removal
Like traditional tattoo removal, laser can be used to break down the pigment in the skin. Multiple sessions may be required and results can vary depending on the pigment color and skin type.
Saline Removal
Saline removal involves injecting a saline solution into the microbladed area to lift the pigment from the skin. This is less invasive than laser removal and can be used to lighten or remove unwanted pigment.
Correction and Cover-Up
If it’s more about the shape or color rather than complete removal, a skilled technician can often correct or adjust the brows with additional microblading or shading.
Talk to a professional technician who has experience in microblading removal or correction to find out what’s best for you.
Microblading Do’s and Don’ts
To get the best results and minimize complications follow these do’s and don’ts before and after your microblading:
Do
- Do Your Homework: Choose a reputable and experienced technician. Check their portfolio, reviews and certifications.
- Follow Aftercare: Follow the aftercare instructions given by your technician to promote healing and pigment retention.
- Keep Brows Dry: Don’t get your brows wet for at least a week after the procedure to prevent pigment loss.
- Use Recommended Products: Apply any ointments or creams recommended by your technician to aid in healing.
- Book Touch-Ups: Schedule a follow up appointment 4-6 weeks after the initial procedure to perfect your brows and address any fading or gaps.
Don’t
- Don’t apply makeup on the brows: Avoid applying makeup on or near the brow area during the healing process to prevent infection and pigment loss.
- Don’t pick or scratch: Don’t pick at the scabs or flakes as this can remove the pigment and cause uneven healing.
- Avoid Sun Exposure: Protect your brows from direct sunlight to prevent fading and discoloration.
- Don’t exercise too much: Avoid heavy workouts that cause excessive sweating for at least a week post-procedure.
- Avoid certain products: Don’t use exfoliating creams, retinol and other harsh skincare products on or near the brow area.
Follow these do’s and don’ts and you’ll have a smoother healing process and longer lasting results for your microbladed brows.
Microblading Techniques
Microblading has evolved to include different techniques to suit different preferences and skin types. Here are the different microblading techniques:
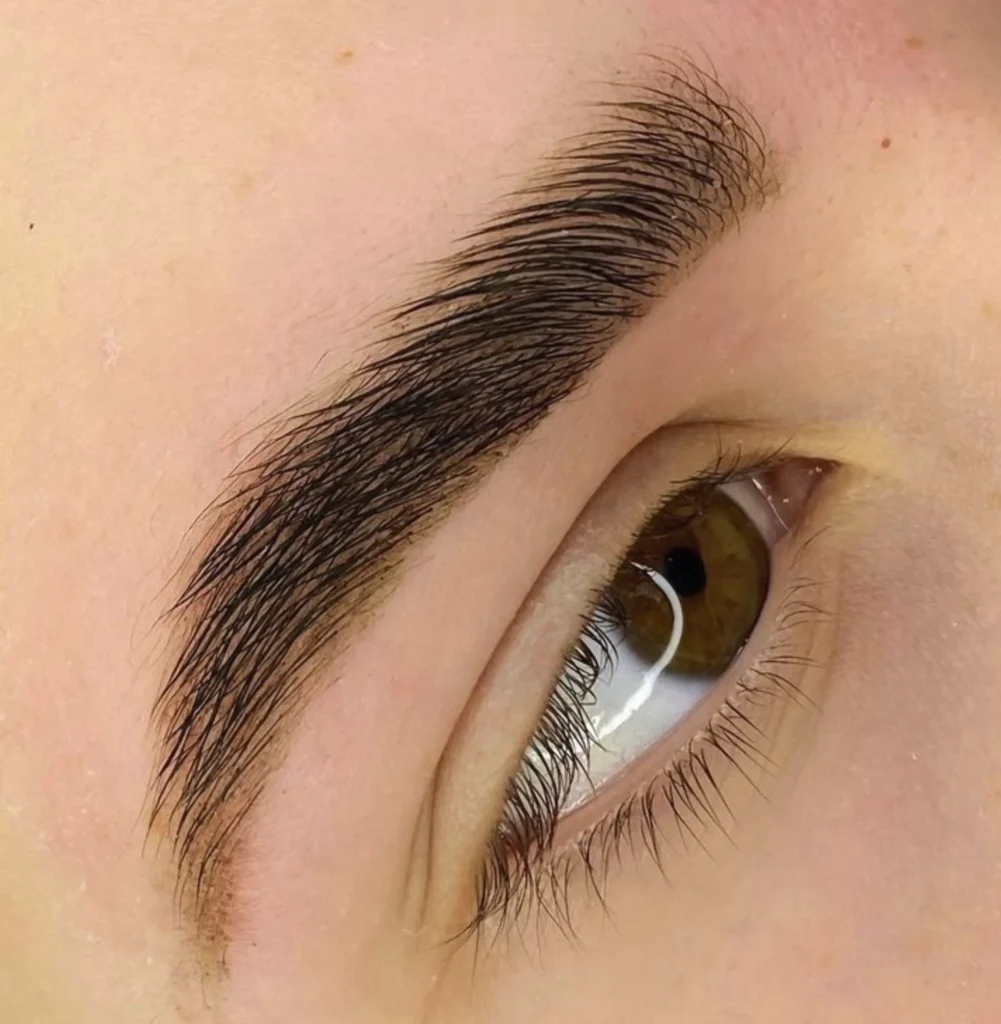
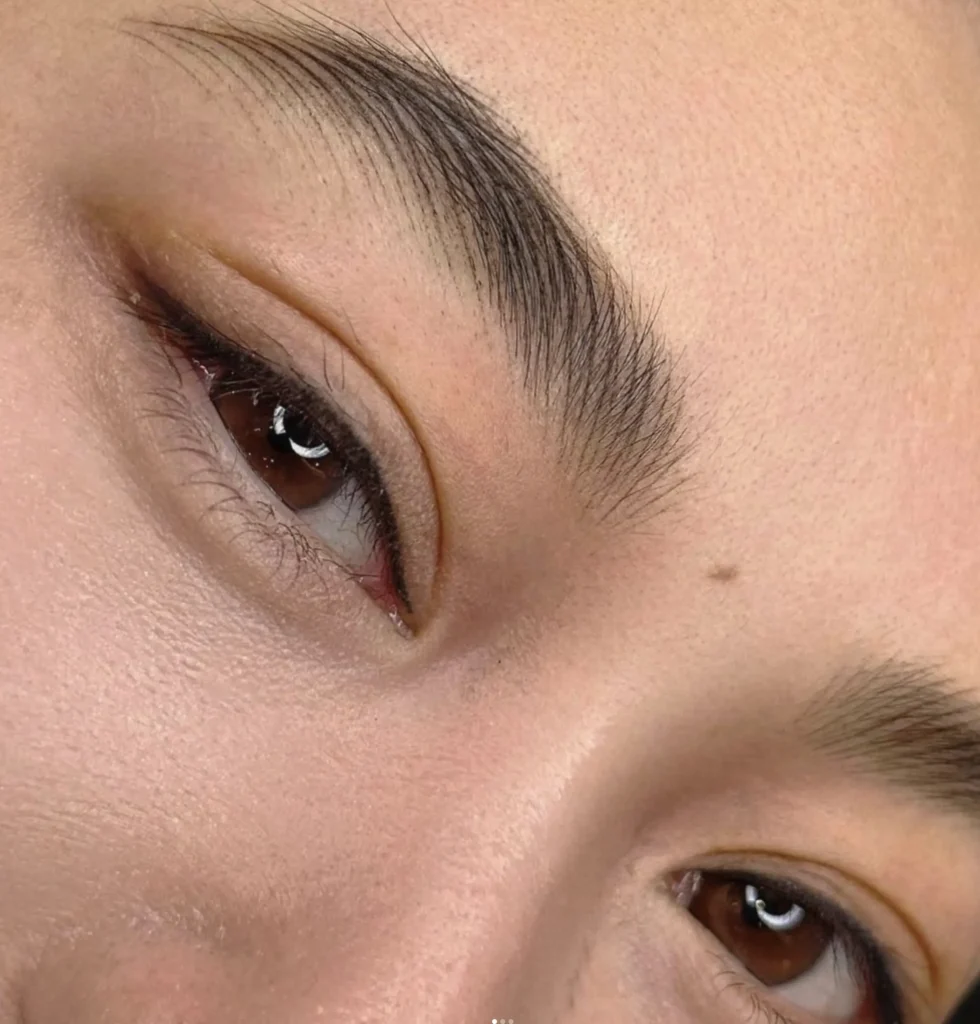
Hair Stroke Technique
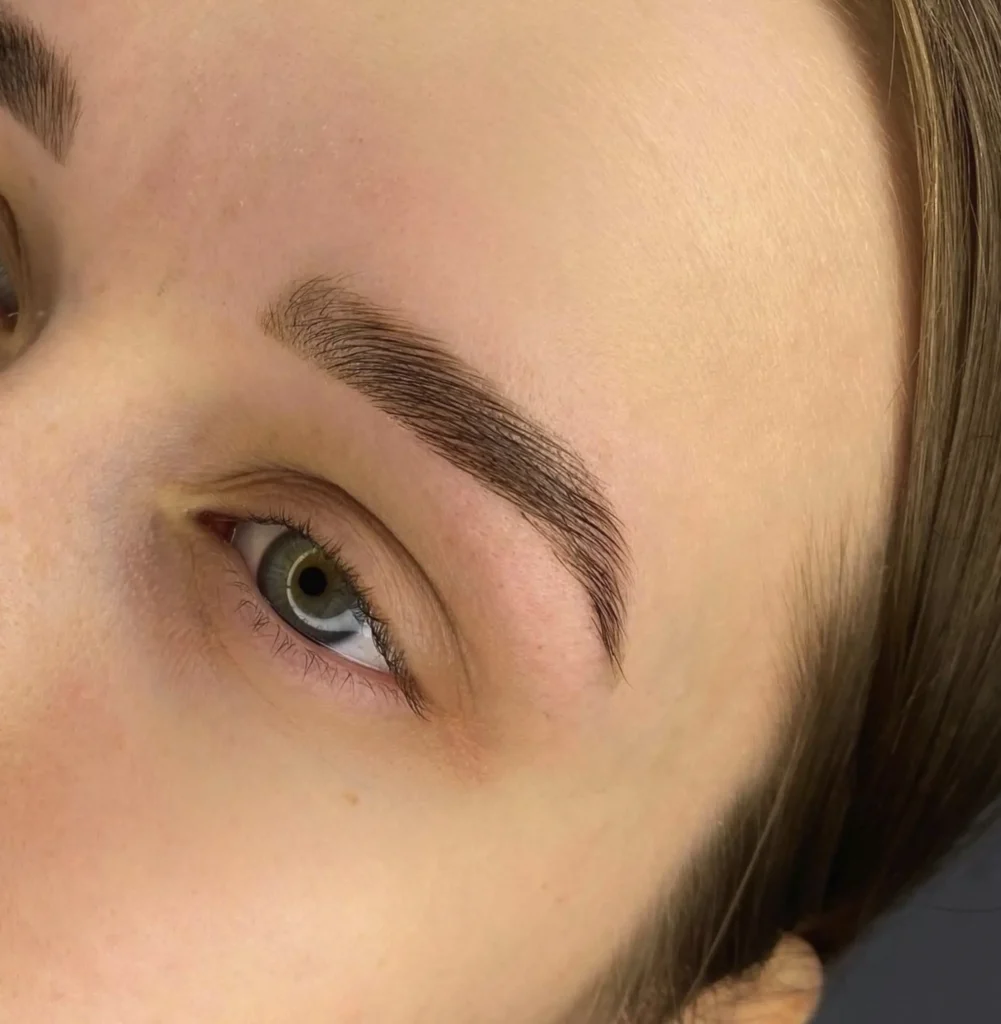
This is the most popular microblading technique where individual hair like strokes are created to mimic natural eyebrow hairs. It’s a natural and subtle enhancement to the brows.
Powder Brows (Microshading)
This technique uses a stippling method to create a soft, shaded effect like brow powder. It’s for those who want a more filled in and defined brow.
Combination Brows (Combo Brows)
Combining both hair stroke and shading techniques, combo brows gives you the best of both worlds. Hair strokes are applied to the front of the brow and shading to the middle and tail for a fuller look.
Ombre Brows
Ombre brows is a gradient effect where the front of the brows are lighter and gradually darker towards the tail. This is for a more dramatic and defined look.
Nano Brows
Using an even finer needle than traditional microblading, nano brows create ultra thin, precise strokes that mimic real hair. This is for those with very fine natural brows.
Each technique has its own benefits and results so it’s best to discuss with your technician to determine which one is best for your desired look.
What to Expect During the Procedure
Knowing what to expect during your microblading session will help you feel more comfortable and prepared. Here’s the whole process:
- Consultation and Design: The session starts with a consultation where you discuss your desired brow shape, color and thickness with your technician. The technician will draw the brows using a brow pencil to create a design that suits your face.
- Numbing: A topical numbing cream is applied to the brow area to minimize discomfort. This takes about 20-30 minutes to take effect.
- Microblading Procedure: The technician uses a handheld tool with fine needles to create hair like strokes and deposit pigment into the skin. This can take anywhere from 45 minutes to 2 hours depending on the design.
- Pigment Application: After the initial strokes are done, additional pigment is applied to the brows to ensure even coverage and saturation. The technician may go over certain areas to perfect the shape and fill in the gaps.
- Final Check and Aftercare Instructions: Once the procedure is done, you’ll be given a mirror to see the results. The technician will give you aftercare instructions to follow during the healing period.
Knowing each step of the microblading session will make you feel more comfortable and informed.
Conclusion
Microblading is a great solution for those who want defined, low maintenance eyebrows. With proper research, prep and aftercare you can get natural looking brows that enhance your features. Always consult with a professional artist to get the best results and to address your concerns.
FAQs
How long does it last?
Microblading lasts between 1-3 years depending on skin type, lifestyle and aftercare. Touch ups are recommended to maintain the desired look.
Can I get microbladed if I have sensitive skin?
Yes but you need to consult with a professional to discuss your concerns and to make sure proper care is taken during and after the procedure. A patch test can also help determine if you’re allergic to the pigments used.
How often will I need touch ups?
Most people need a touch up 4-6 weeks after the initial procedure. Subsequent touch ups may be needed every 12-18 months to maintain the desired look and to keep the pigment vibrant.
Can I wear makeup after microblading?
It’s best to avoid applying makeup on or near the brow area for at least 2 weeks after the procedure to allow for proper healing. Applying makeup too soon can interfere with the healing process and pigment retention.
Is microblading safe?
Microblading is safe when done by a qualified professional in a sterile environment. Always do your research to make sure you’re choosing a reputable artist and studio. Follow the aftercare